Step 1: Access the MikroTik Router
- Connect to your router via Winbox, SSH, or WebFig.
- Login using your credentials.
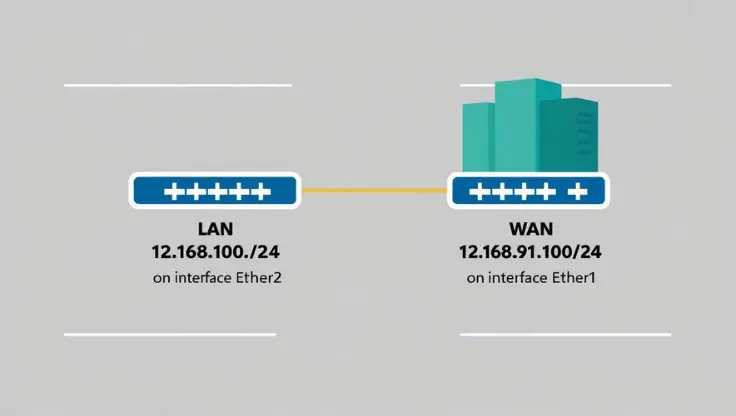
Step 2: Set Up Interfaces
Assign your WAN and LAN interfaces:
/interface bridge add name=bridge-lan
/interface bridge port add bridge=bridge-lan interface=ether2 #Assuming ether2 for LAN
/ip address add address=192.168.100.1/24 interface=bridge-lan
/ip address add address=192.168.91.100/24 interface=ether1 #Assuming ether1 for WAN
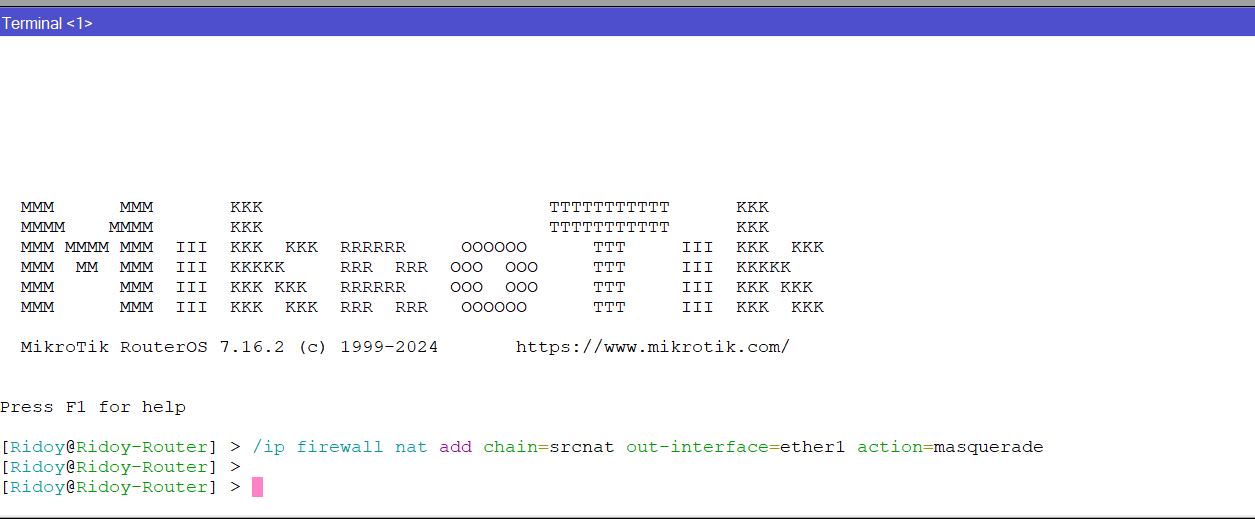
Step 3: Configure NAT
Enable masquerading for the WAN interface to allow internet access for LAN clients:
/ip firewall nat add chain=srcnat out-interface=ether1 action=masquerade
Step 4: Configure Default Firewall Rules
a. Input Chain: Protect the Router
Allow access to the router from LAN:
/ip firewall filter add chain=input action=accept connection-state=established,related
/ip firewall filter add chain=input action=accept src-address=192.168.100.0/24
/ip firewall filter add chain=input action=drop
b. Forward Chain: Allow Internet Access
Allow related and established connections:
/ip firewall filter add chain=forward action=accept connection-state=established,related
/ip firewall filter add chain=forward action=drop connection-state=invalid
Allow LAN to WAN traffic and block WAN to LAN traffic:
/ip firewall filter add chain=forward action=accept src-address=192.168.100.0/24 out-interface=ether1
/ip firewall filter add chain=forward action=drop in-interface=ether1
c. Optional: Protect Against DDoS
Block excessive connection attempts:
/ip firewall filter add chain=input action=drop protocol=tcp connection-limit=100,32
/ip firewall filter add chain=input action=drop protocol=udp connection-limit=200,32
Block ping flood:
/ip firewall filter add chain=input action=accept protocol=icmp limit=5,10
/ip firewall filter add chain=input action=drop protocol=icmp
Step 5: DHCP Server for LAN
Set up a DHCP server for LAN clients:
/ip pool add name=lan-pool ranges=192.168.100.2-192.168.100.254
/ip dhcp-server add name=lan-dhcp interface=bridge-lan address-pool=lan-pool lease-time=10m
/ip dhcp-server network add address=192.168.100.0/24 gateway=192.168.100.1 dns-server=8.8.8.8,8.8.4.4
Step 6: Save Configuration
Save your configuration to avoid losing it after a reboot:
/system backup save name=default-config
Final Note
This configuration includes a basic firewall policy ensuring:
- Only LAN clients can access the router and internet.
- WAN traffic is restricted to prevent unauthorized access.
- LAN clients are NATed to access the internet.
- Protection against common DDoS attack vectors is enabled.